
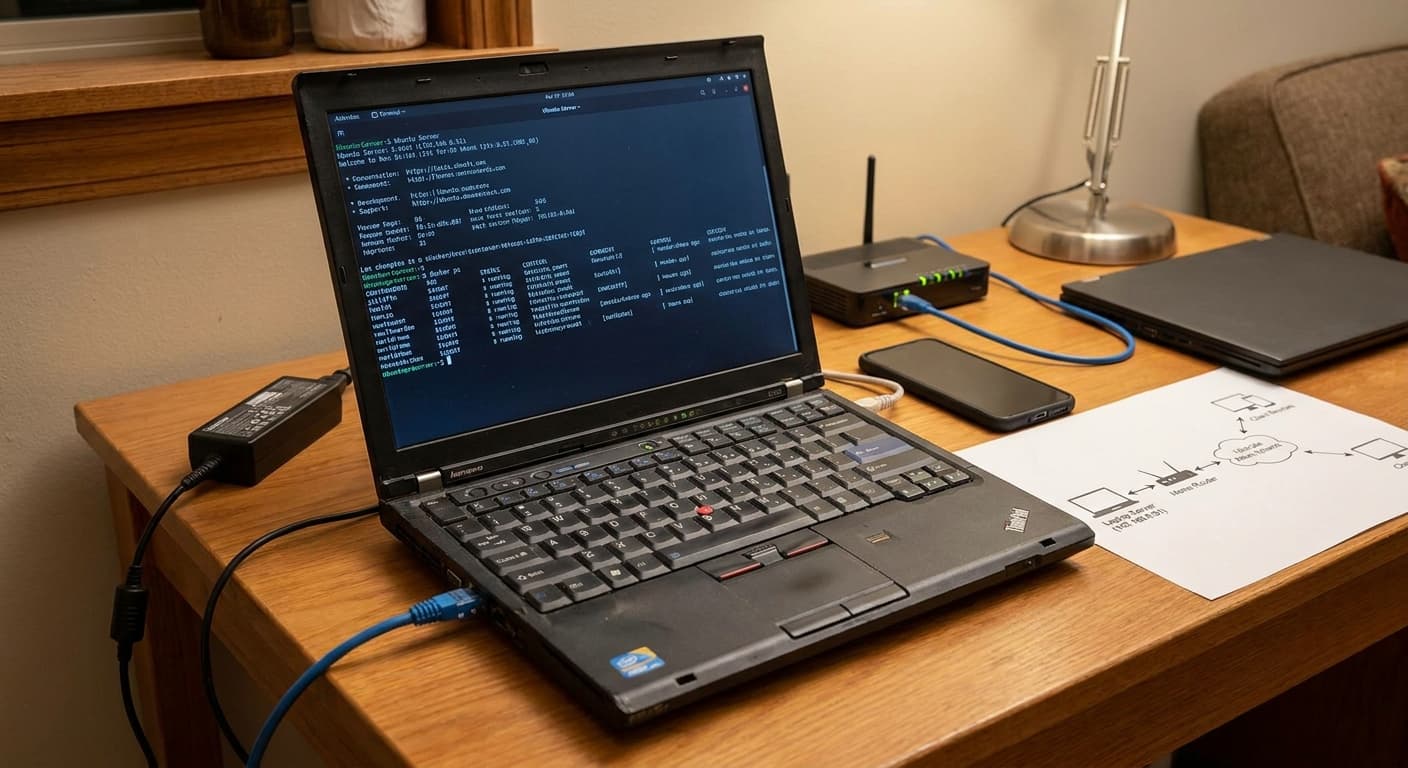
I had an old laptop doing nothing. An Intel i3-5005U, 8GB of RAM, a 1TB hard drive. Not fast enough to game on, not new enough to feel useful day-to-day. Most people would sell it or forget it in a drawer.
I turned it into a home server instead.
Not a file server. Not a simple NAS. A proper private cloud node — running containerized services, accessible from anywhere in the world over an encrypted mesh network, with no public ports, no DNS entries, and nothing visible to the internet at all.
This is the story of how I built it, what problem I was solving, and what I actually learned along the way.
The problem I was actually trying to solve
This project started with frustration, not a grand plan.
I had music I wanted to stream from anywhere. Photos piling up without a proper backup strategy. Passwords in a commercial manager I did not fully trust. Media sitting on external drives with no clean way to access it remotely.
The commercial alternatives to all of these exist. Cloud storage, Spotify, hosted password managers. But I wanted to own the data. I wanted to understand what it actually takes to run services — not just use them.
The goal was not just to host services. It was to understand the infrastructure behind services that people treat as invisible.Building a home server is one of the fastest ways to develop practical systems knowledge that you simply cannot get from web development tutorials. Networking layers. Security design. Storage management. Container orchestration. Reliability engineering. All of it becomes real when it is your hardware, your data, and your uptime on the line.
The hardware: a laptop nobody wanted
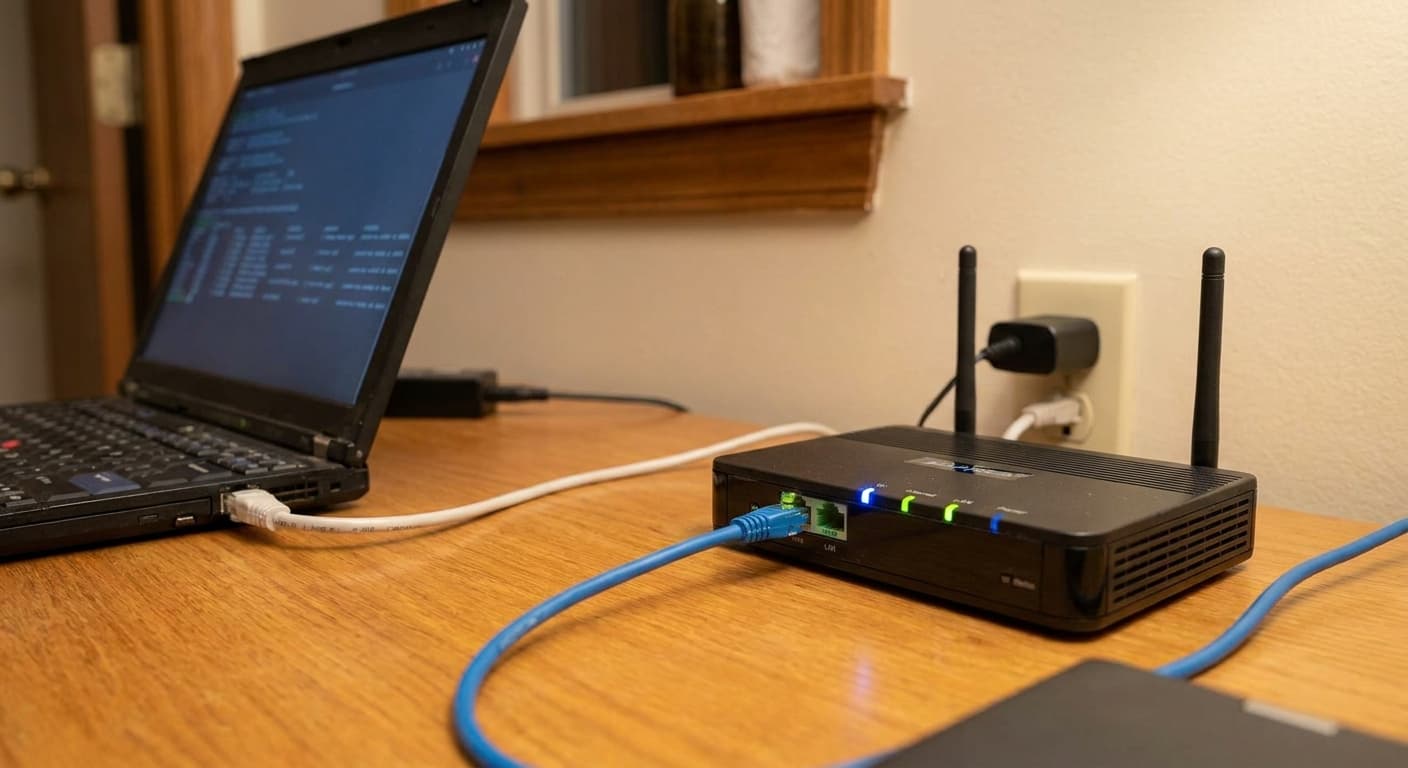
The machine I used is an Intel i3-5005U, dual-core, 8GB RAM, 1TB HDD, connected via ethernet. Not a powerful server by any standard. But it is always-on, fanless under light loads, and draws minimal power sitting in a corner.
The first step was installing Ubuntu Server — the headless version, no desktop environment, no GUI. Just a terminal and a static LAN IP.
Server LAN IP: 192.168.0.51
With a DHCP reservation on the router, the server always gets the same IP on the local network. Predictable internal routing, stable Docker networking. Simple but important.
The lid is closed permanently. Suspend and hibernate are masked out via systemd so the machine never tries to sleep. It just runs.
The CGNAT wall — and why I did not fight it
Here is where most home server guides hit a dead end for a lot of people: port forwarding.
My ISP uses Carrier Grade NAT. That means I do not have a real public IP. I share one with dozens or hundreds of other customers at the ISP level. Traditional port forwarding simply does not work. I cannot expose a port, cannot set up a DNS record pointing at my home, cannot follow the standard reverse-proxy-on-the-edge setup.
Instead of public exposure, I went with a mesh VPN overlay using Tailscale.
Tailscale: the networking decision that changed everything
Tailscale builds a private WireGuard-based mesh network across all your authenticated devices. Every device gets a private IP in the 100.x.x.x range. Every connection between them is encrypted end-to-end. There is no central server relaying your traffic — it is peer-to-peer, and it handles NAT traversal automatically, even over mobile data.
The server joins the Tailscale network. My phone joins. My laptop joins. All of them can now reach each other directly over encrypted tunnels, regardless of where they physically are.
How the traffic actually flows
When I am at home on the local network:
Client → 192.168.0.51 → Docker → Service
Direct LAN access. Fast, zero overhead.
When I am anywhere else in the world — mobile data, a coffee shop, a different city:
Client
  │
  ▼
WireGuard Encrypted Tunnel
  │
  ▼
Tailscale Mesh (100.x.x.x)
  │
  ▼
Ubuntu Server → Docker → Service
The server never sees the public internet. The client never needs to know the server's real network location. The only thing that grants access is authenticated membership in the Tailscale network — identity-based access, not network-location-based access.
MagicDNS handles hostname resolution automatically, so I can reach services by name instead of memorizing IPs. It all just works.
The result is that the server has no public-facing ports. No reverse proxy exposed to the internet. No DNS record anyone could look up. No attack surface for automated scanners, brute-force attempts, or probing. If you are not authenticated into the Tailscale network, the server does not exist from your perspective.
The services running inside Docker
Everything on the server runs inside Docker containers managed with Docker Compose. Persistent volumes handle storage so containers can be rebuilt without losing data.
Here is what is actually running:
| Service | What it does | | --- | --- | | Jellyfin | Media streaming server — films, shows, home videos | | Immich | Photo backup and management, Google Photos alternative | | Navidrome | Music streaming, Subsonic-compatible | | Vaultwarden | Self-hosted password manager, Bitwarden-compatible |
Each service runs isolated in its own container. Each has its own persistent Docker volume. Configuration lives in Compose files that can be version-controlled and reproduced.
Why each service matters to me specifically
Jellyfin is the media server. I have content on drives that I want to stream to any device cleanly, without re-encoding everything or dealing with format compatibility. Jellyfin handles transcoding on the fly when needed, though the i3-5005U shows its age under heavy transcoding load. Direct play where possible is the better strategy with this hardware.
Immich replaced my photo backup workflow entirely. Photos from my phone sync automatically to the server over Tailscale. They are mine, on my hardware, not processed by someone else's AI, not subject to storage tier limits. The interface is genuinely close to Google Photos in terms of usability.
Navidrome handles music. My local library, streamed through a Subsonic-compatible API, accessible from any Subsonic client on any platform. It uses almost no resources compared to the other services.
Vaultwarden is the most practically important service on the list. A self-hosted Bitwarden-compatible password vault. The Bitwarden official client connects to it, everything syncs, and the data lives on my hardware. For something this sensitive, owning the storage felt right.
Storage: LVM expansion without reinstalling anything
The Ubuntu install started on 100GB of the disk. The rest was unallocated. Rather than repartitioning manually and risking the install, I used LVM — Logical Volume Manager — to extend the existing volume into the remaining space.
The total usable space went from ~100GB to ~914GB without touching the OS install. It is one of those Linux capabilities that sounds intimidating until you do it once and realize it is exactly what production infrastructure actually uses.
The media directory structure on the server:
/media/music
/media/photos
/media/backups
/docker
Clean, predictable, easy to back up incrementally.
Reliability: the things nobody talks about
Running a server on a laptop creates one problem most guides skip: the battery.
If the power goes out, a laptop will run on battery for a while — which sounds like a feature. But if the battery drains completely without a safe shutdown, you risk filesystem corruption on the HDD. On a server that holds backups and media, that is a real concern.
I wrote a battery-aware shutdown script that monitors charge level and triggers a graceful service shutdown before the battery runs critically low. Clean shutdown, every time, even during a power cut.Beyond that: suspend and hibernate are permanently disabled. The server auto-restarts failed services via systemd restart policies. Docker containers are configured to restart unless explicitly stopped. The machine behaves like a server, not a laptop that happens to be running services.
What actually shifted in how I think
The honest answer to what this project taught me is not a list of tools. It is a shift in how I think about systems.
Before building this, I used cloud services without thinking about what they actually are. An S3 bucket is just storage. A CDN is just fast delivery. A VPN is just privacy.
After spending real time managing services, monitoring resource usage, dealing with disk space, watching containers crash and restart, debugging why Immich was using three times more RAM than expected — the abstractions went away. These are all just computers running software, with the same constraints that my laptop has. Someone is managing that. Now I do it for myself.
The security design in plain terms
The security model for this setup is built around one principle: reduce attack surface first, optimize later.
What is not on this server:
- No public-facing ports
- No reverse proxy exposed to the internet
- No public DNS entries pointing at home
- No HTTP endpoints reachable without VPN membership
What is on this server:
- A Tailscale node that only accepts connections from authenticated devices
- Docker containers that bind to local interfaces, not public ones
- WireGuard-encrypted tunnels for all remote traffic
- SSH available through Tailscale only
The comparison to traditional setups is stark. A typical self-hosted setup runs a reverse proxy, exposes ports 80 and 443, gets a domain name, handles Let's Encrypt certificates, and hopes the Nginx config is correct. That is a real attack surface that gets scanned constantly.
This setup has none of that. The router has no forwarding rules. The ISP sees no unusual traffic patterns from my IP. Automated scanners find nothing because there is nothing to find.
What is planned next
This is not a finished project — it is a living system. The next phases I am working toward:
- SSH key-only authentication — disable password-based SSH login entirely
- Automated offsite backups — scheduled database snapshots with restore testing
- Centralized logging and monitoring — lightweight stack with alerting on disk and battery thresholds
- Version-controlled Docker stack — full infrastructure-as-code, reproducible from scratch
- Docker daemon hardening — tighten the container runtime security defaults
The monitoring piece is the one I feel most clearly right now. When something breaks at 2am, I want to know before I discover it manually. That requires proper observability, not just services that are running and hoped about.
The actual takeaway
An old laptop, Ubuntu Server, Docker, Tailscale, and four self-hosted services — none of this required expensive hardware or cloud credits. All of it required understanding.